I was encouraged to make a website after watching a Youtube video ("You Should Check out the Indie Web" by "You've Got Kat") about the "indie web", and thought it would be a fun little project to work on. HOWEVER, despite broadly being tech-literate, I know next to nothing about HTML or CSS. Thankfully, there's lots of resources out there, and people who are kind and generous enough to share their work and templates for others to use! It's definitely involved a lot of trial and error, and banging my head against a brick wall because I don't full understand what I'm doing most of the time... but I do have a website that kind of works! I have tried to build crediting into the website itself, but I'm also going to put them all here so it's easy for people to find :)

Hopefully not new to anyone, but this website wouldn't exist without Neocities! The concept of being able to get a free web domain to do whatever you want is still wild to me, and I'm so thankful it exists. I've also found the Neocities interface to build the website pretty easy to use and understand, and really appreciated their opening tutorial on HTML to give me a comfortable starting point to play around with. If you're thinking about making your own website - you can do it!
One of the first websites I found on Neocities, which I was directed to when looking for website layout templates, was Eggramen. There's a decent handful of different basic webpage layouts, which were relatively easy to drag and drop to put on my website. My current design is based on the Animesque template - although a big part of that was the pretty pixel art (which I'll mention in a moment!). After having played around a little, I'm realising the *layout* of the templates is probably more important than the aesthetic, because the images and colours can be easily changed... so maybe I'll have an overhaul in the future ^^;
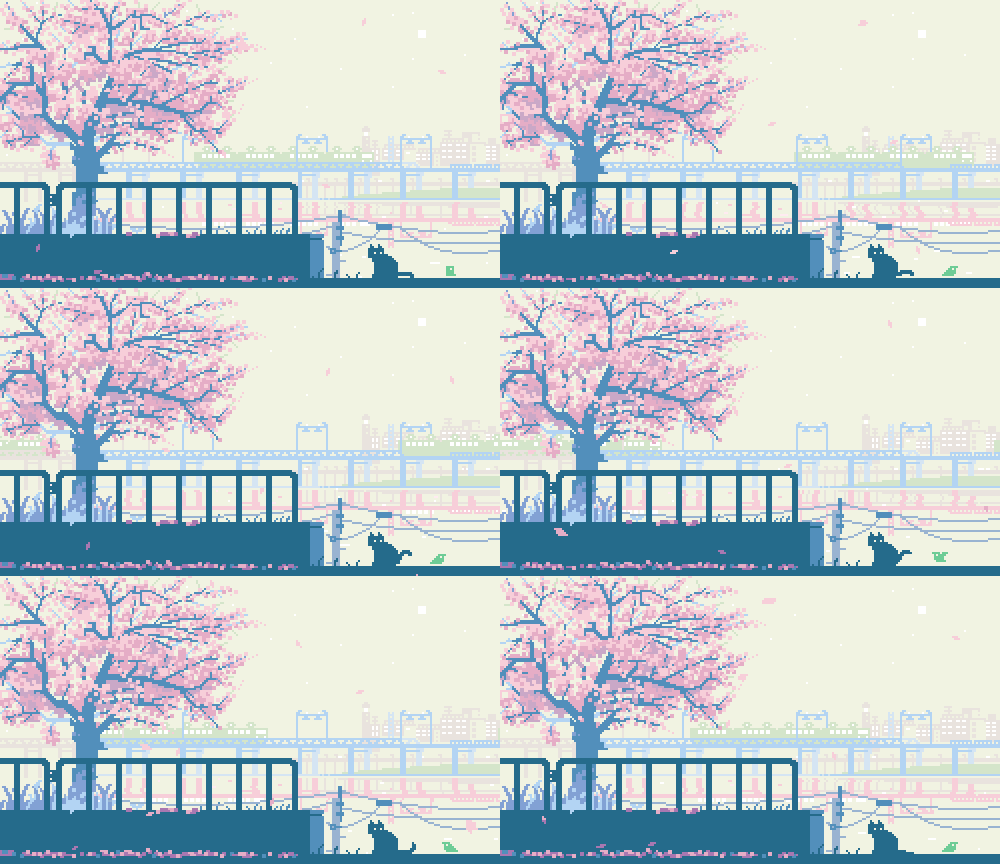
On a few of the Eggramen templates is some GORGEOUS pixel art by 1041uuu, who has both a Tumblr page, and their own website! I don't actually know if they're okay with their work being used on websites like this... Eggramen gives them credit, so I'm hoping 1041uuu is happy and comfortable with that... but I might end up taking their work off the site in the future, just in case. Regardless, you should absolutely treat yourself and go look at their work. It's incredibly relaxing, and makes me want to try and do pixel art someday
Definitely one of the things that's been the most tricky so far, has been implementing the navigation sidebar. I found the Templaterr website, which has an excellent solution of building the sidebar mostly in its own dedicated Javascript file, so it can be edited in one place, and remains the same across all your webpages. It did take me a long time to figure out I actually NEEDED the javascript portion, because I had only touched HTML and CSS at that point... idk, I thought the Java was optional maybe ;__; Despite having 0 clue what I am doing, I've managed to get it up and running, and even edit the colours and style a bit to match my site theme, so I'm pretty pleased with that! As with all things, I might overhaul it in the future, but it's been a great starting point
I can't find a button link for their website, so enjoy this gif instead ^^; When putting together my Pokemon Cross Stitch page, I originally figured I'd pull all my images straight from Instagram where they're already uploaded. However, as of now (2024) you can NOT pull just the image from Instagram, it needs to be embedded with this whole instagram interface... which I do not love. And no, adding "/media/?size=t" to the end of the URL does not work anymore, and I haven't been able to find good info on if there's a new method of doing this without fully embedding the whole thing.
As far as I can tell, it's generally considered better practice to save and upload images to your website directly, rather than "hotlink" to other places, for the sake of preservation (it won't break if the other website takes that page down, etc), and I found the Netfriend website's EZ Gallery code. It took me a little while to get this working - for some reason I had more luck taking the code from the "developer view" button on the page than actually following the steps... but it's working now! I'll probably play around with it a bit to see if I can make image thumbnails a bit bigger etc, but it's another great starting point
After sharing links to so many other websites, I figured I should make my own button incase people want to link to me! I found Blinkie's Cafe, which has a built in generator with some templates that you can add your own text to! I was actually looking to generate a more classic "button", until I found...
SketchedNeo's Button Maker! It took me a while to find this one, because I was fruitlessly searching for "button maker", which is so generic the internet (google) wouldn't show me what I wanted. Turns out these are better known as "88x31s" or "88x31 buttons", and searching for that gave me much better luck :)
I found a few different tools, but they were all relatively plain and struggled with how long my site name is ^^; If you want to make your own, I found SketchNeo's drag and drop tool, 2 generators (here and here) made by Hekate, a similar one by WebsetsByLynn, and a basic one by SadGrl (who also has some website layouts to use!)
I found someone referencing this on a blog about building an "old school" style website, and figured an animated mouse would be a fun effect to try and add. Tim Holman's mouse effects thankfully have done all the work for me - thank you Tim! It took me a while to figure out how to implement it... I find GitHubs deeply confusing, I was adding custom .css files and javascript files, and it was talking about "setting up with npm install" which means NOTHING to me. Turns out it was super easy, and I just pasted this before the </head> line in my HTML code:
<script type="module">
import { fairyDustCursor } from "https://unpkg.com/cursor-effects@latest/dist/esm.js";
new fairyDustCursor();
</script>
You can change which cursor effect is added by changing "fairyDust" to the other cursor's name (e.g. "rainbowCursor"!) that I did find on the Github here. I can only assume that all the GitHub files (.html, .css, .js) are there to let you put the code directly on the backend of your own website, which is best practice - BUT idk how to do that right now ^^; Maybe another quality of life update for me in the future.
Want to link to me?
I'd be surprised if anyone wants to... but I'd be honoured! Thank you! My site buttons are a bit shonky right now, so I might put time into making nicer ones in the future... if I get round to it ^^;
Turns out they do different sizes...
..oh no


